Building SSR with VPS
Ref: https://www.baishitou.cn/1524.html
Recommended VPS server:
Sign up and pay for the monthly service. I choose $10/month.
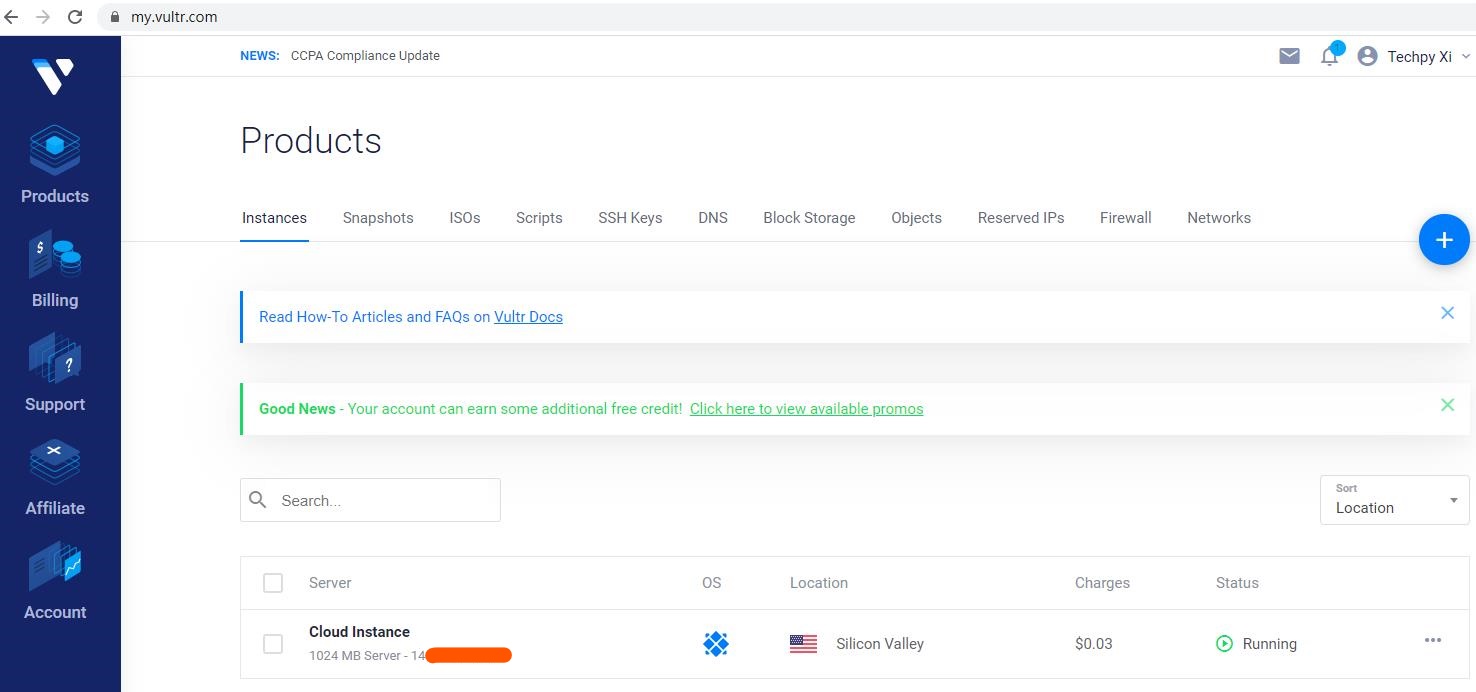
Choose the server location: Silicon Valley
Choose the server type: CentOS 7
Choose the server size: $5/mo
Additional Features: Enable IPv6
Keep the VPS IP and password for later deployment.
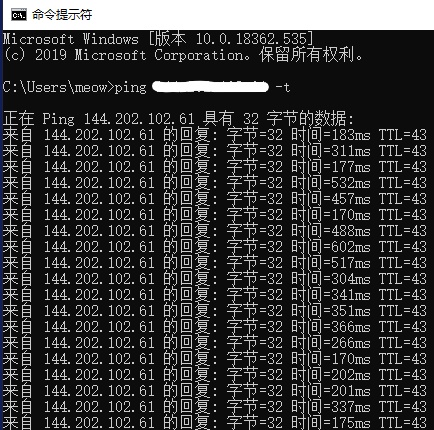
After the VPS is on, ping the ip to check whether it works or not. Discard the ones with high ping values, usually around 100 is fine. For me:
Step 2: Deploy VPS
Download Xshell: https://xshell.en.softonic.com/download
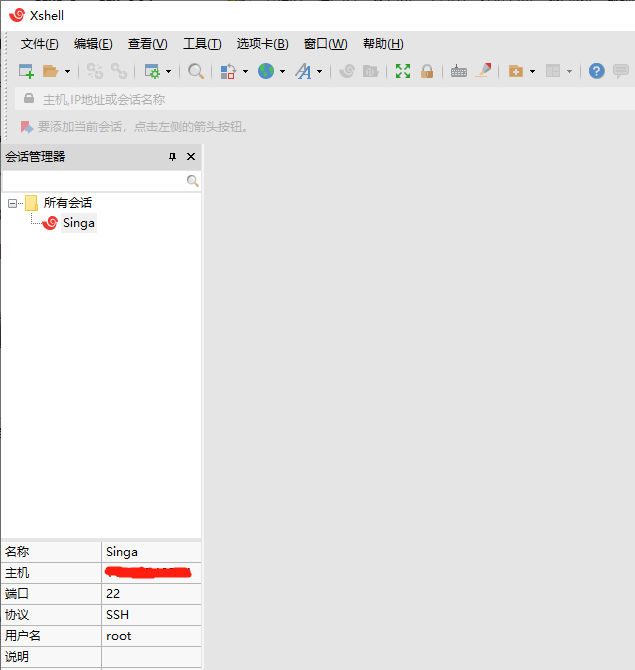
Open Xshell, create a session with the VPS IP and password, username: root.
After successfully connected to the server, execute:
1 | wget --no-check-certificate https://freed.ga/github/shadowsocksR.sh; bash shadowsocksR.sh |
Setting the connecting password and port number, I use 8787
After successfully install SSR, there will be several lines popping up starting with: congratulation… Keep the information such as Sever IP, port, connecting password…
Step 3: Speed up VPS
While in Xshell, execute:
1 | uname -r |
Its output starts with 3, indicating the server is CentOS 7 x64 system, execute:
1 | wget --no-check-certificate -O rskernel.sh https://raw.githubusercontent.com/hombo125/doubi/master/rskernel.sh && bash rskernel.sh |
The system reboots after changing the kernel and will be in a disconnected state. So connect it again and execute:
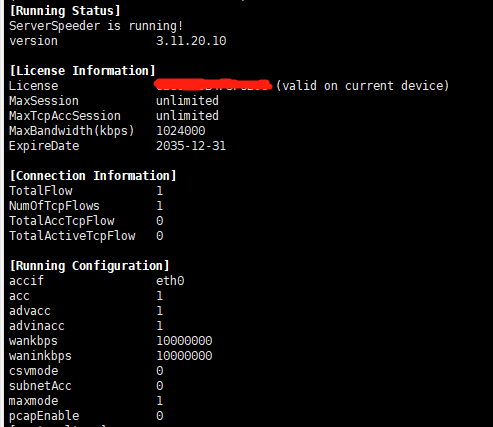
1 | yum install net-tools -y && wget --no-check-certificate -O appex.sh https://raw.githubusercontent.com/0oVicero0/serverSpeeder_Install/master/appex.sh && bash appex.sh install |
When successfully installed, it shows:
Download Shadowsocks:
Open Shadowsocks:
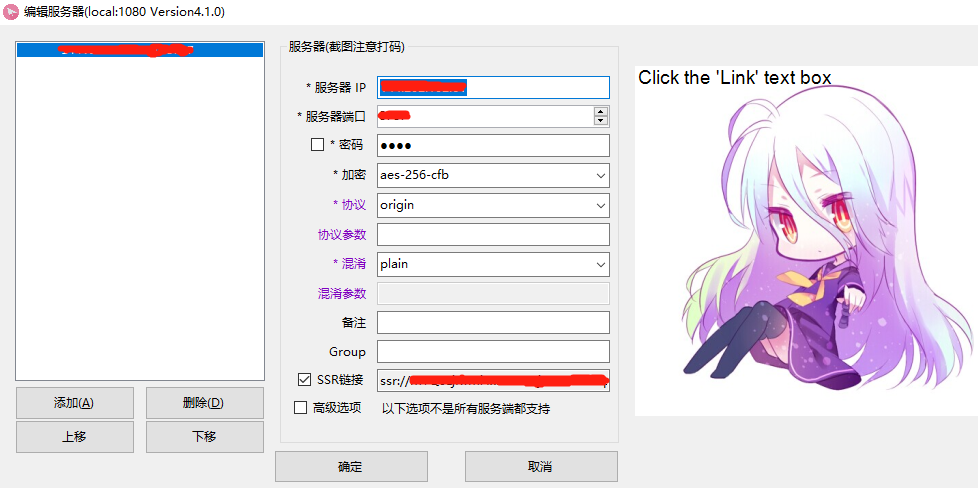
Right click the bottom right, enable system proxy.
Check it with Youtube:
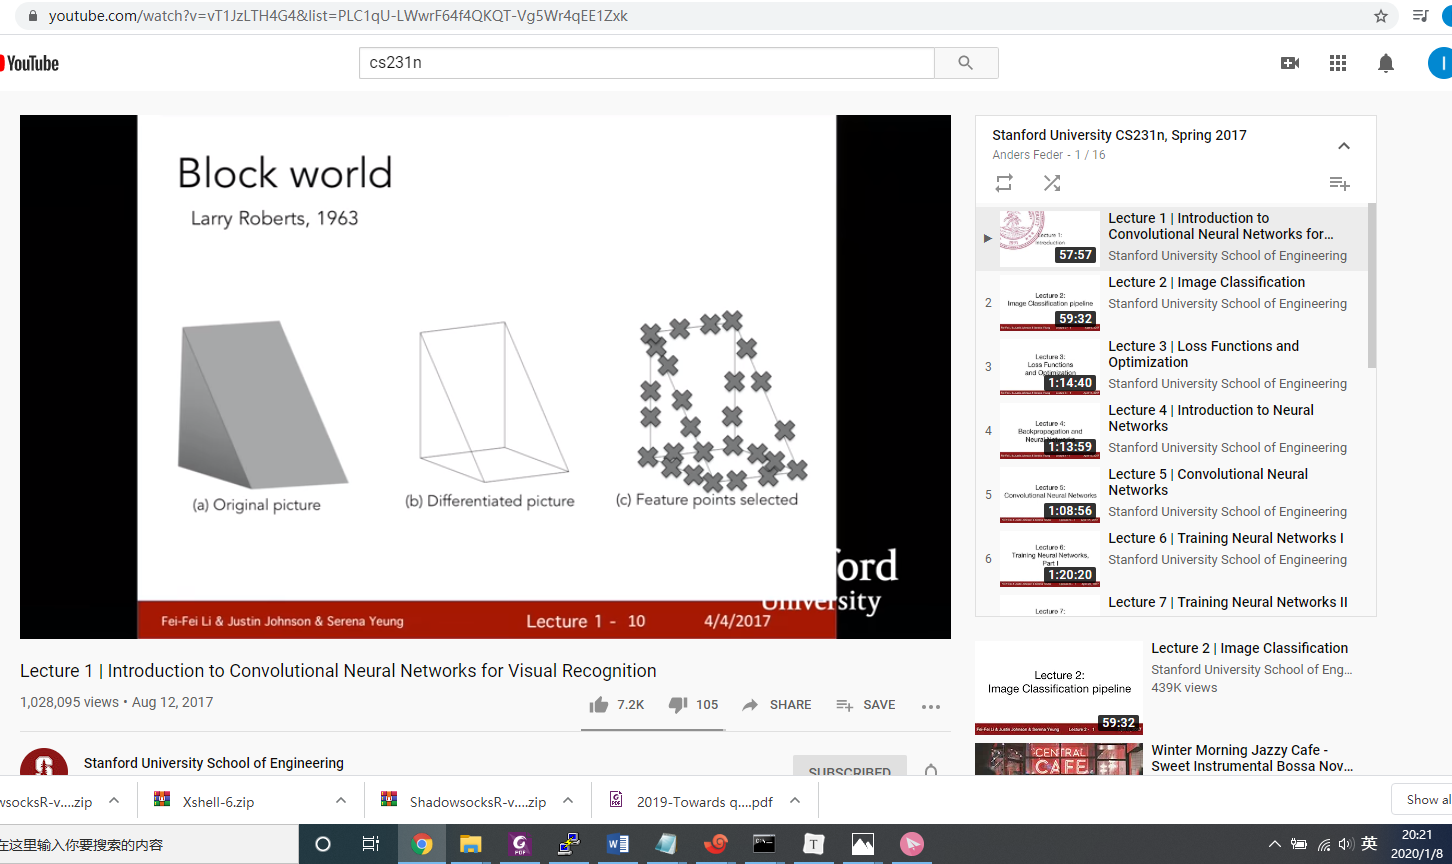
DONE!